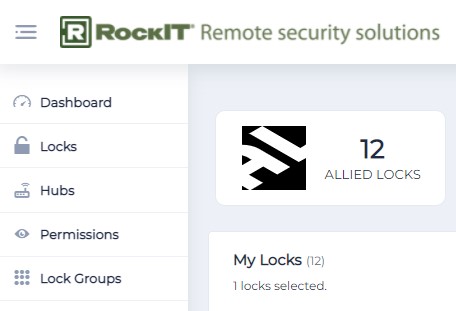
The RockIT Cloud Portal enables administrators to organise their lock points to provide both flexibility and control of those persons and teams requiring permissions.
1. Name and activate the smart locks to be available on the RockIT Cloud Portal and accessed by the RockIT Mobile app.
2. Create one or more Lock Groups to organise your smart lock locations.
3. Create one or more Teams to provide permissions for access users.
Activate Locks
Activating a Lock
To install a lock and activate go to the Lock menu.
Select the option Activate

Enter the serial number from the smart lock device as shown on the base and then include a relevant known name for users to identify". A standard name make it easier for users to identify where they are and to match this with the smart lock serial number.
"Use a standard and recognizable naming convention and add a hyphen and the last 4 letters of the serial number".
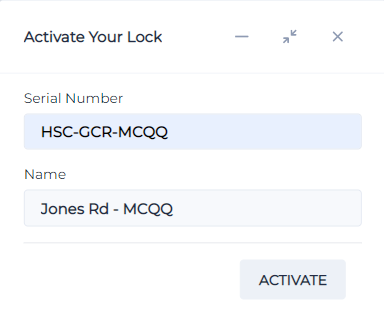
The lock will now show on the Lock page as available and activated. Read the next section so that you can set the lock up to best operate in either an Offline or Online mobile network environment. Note a lock not set to Offline will not operate unless in mobile network coverage.
Enabling a Lock as Offline
You will need to enable the lock to Offline mode if it is operate at sites where there is either no or poor mobile network mobile coverage.
Select the link to view RockIT Lock - Setting up Offline Locks
Create Lock Groups
The Lock Group page is where you can group together locks that have a common relationship. Simply create a suitable group name and add the required locks.
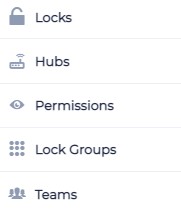
To create a lock group go to the Lock Groups menu.
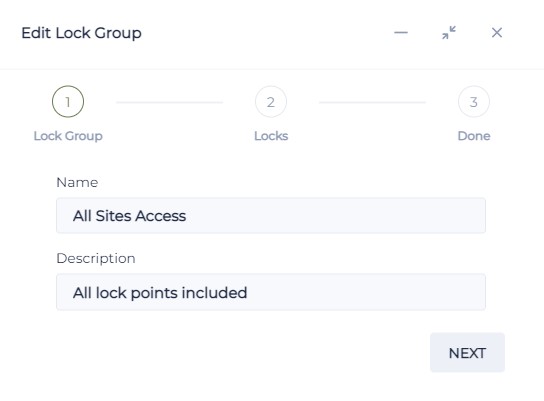
Next go to and selection the option to create a New Lock Group.

Then add a suitable Name and Description so that you know what the lock group contains.
Then select the next option when completed.
Then select one or more locks to add to the group from the drop list. When entering the first lock into a new group press the enter key to load. When adding further locks select from the pick list and the lock will be automatically added added.
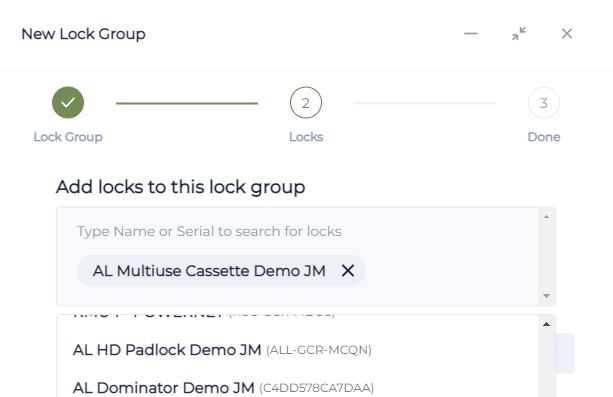
On selecting the Next option it will show that the Lock Group has been successfully completed.
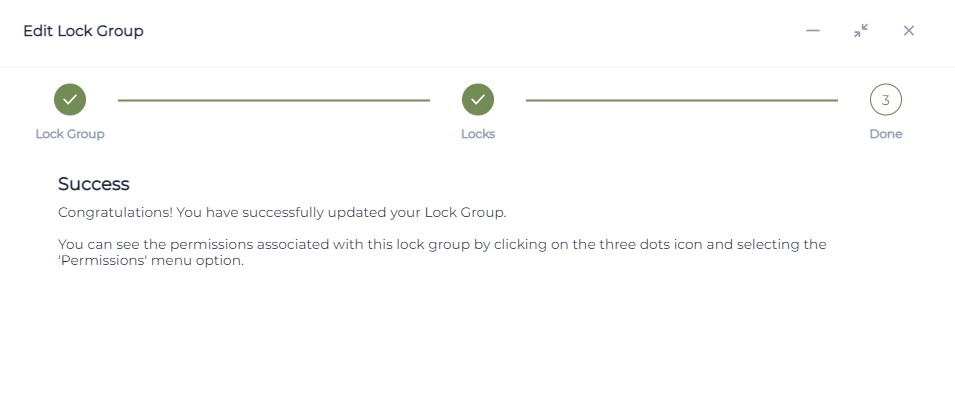
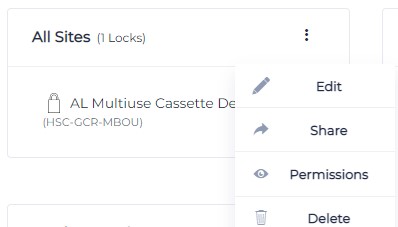
Now select the three dots button  to open the new Lock Group. Select the Edit option and go to the Next option. When a new lock or addtional locks are added to the Lock Group, it automatically creates additional team permissions for the locks shown in the group.

Lock Group Detail TIPS
- Use a standard naming convention in the Name field.
- Lock Groups can assist to cluster together locks in specific locations or usage requirements.
- Locks can be assigned to multiple Lock Groups. For example a hunting club can be assigned access to some of the locks that are included in land owners group not all.
- Lock Groups can be assigned to shared access points where the land owner wants to contract out the management to another party.
- Note smart locks can be assigned to multiple Lock Groups.
Create Teams
The Teams page is where you can group together individuals that have a common relationship. Simply create a suitable team name and add the required individuals.
To create a team go to the Teams menu.
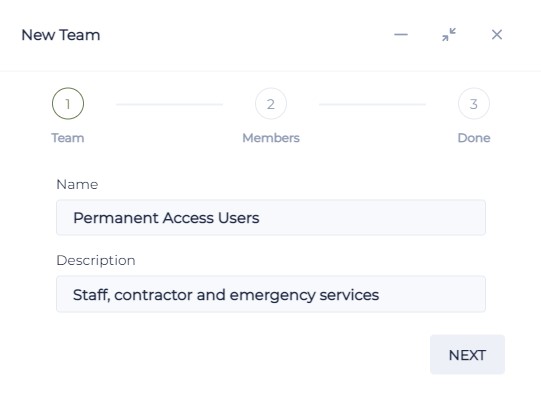
Then select the option New Team

Then add a suitable Name to describe the Team considering the common type of permission usage. The Description can be used to define the conditions of being part of the team.
- Use a standard naming convention in the Name field.
- Teams can assist to cluster together access users with a common interest or usage type.
- Teams can be assigned to multiple Lock Groups. For example a maintenance team can be shared to the All Site Group and the Hunting Club Group.
- Individual's can be assigned to multiple Teams such as Maintenance Team or the Hunting Team.
Once the Team has been created add users email addresses to the list. Press enter then go to Next.
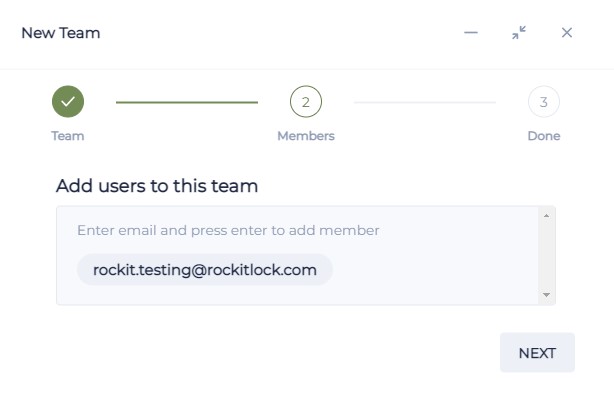
The Team has now been successfully completed.
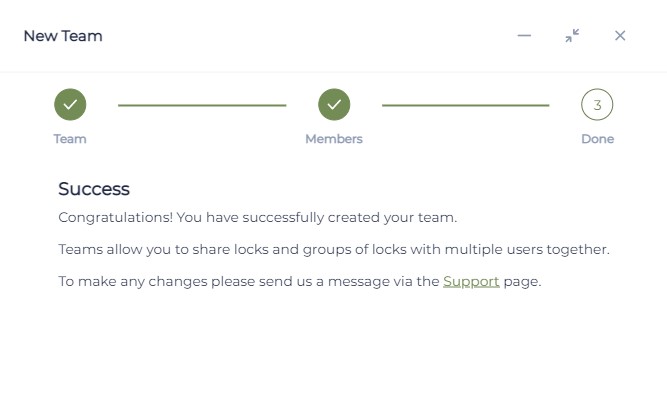
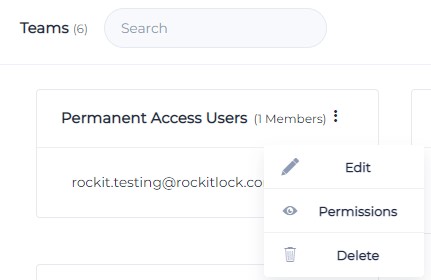
Go to the Team created and select the the three dots button . This shows that the Lock or Lock Group permissions are not yet assigned to the a Team.

Assign Lock Group to a Team
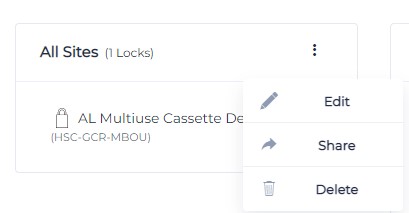
Go to the Lock Groups menu and select the group to be assigned to a Team. Select the three dots button and Share option.
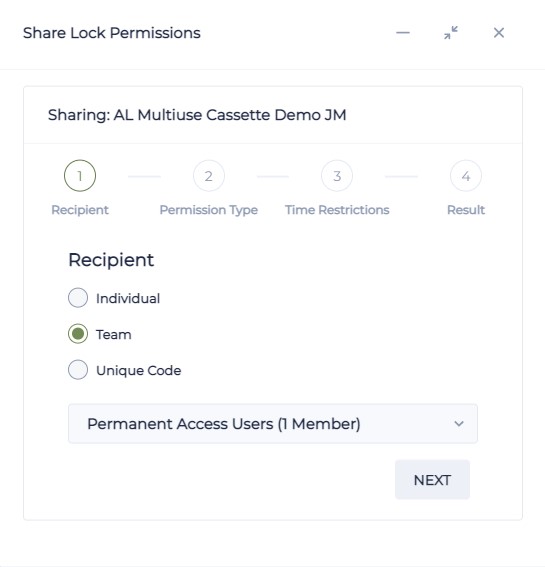
Select the option to assign a Team and the drop list to choose the Team. Then select Next.
Select a Permission Type then the Next option.
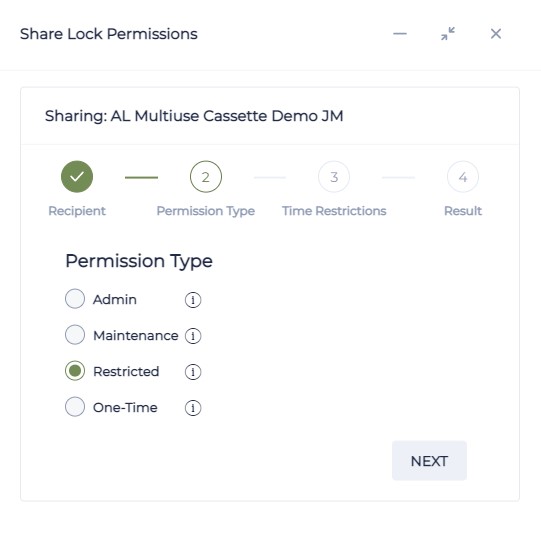
Permission Privilege's
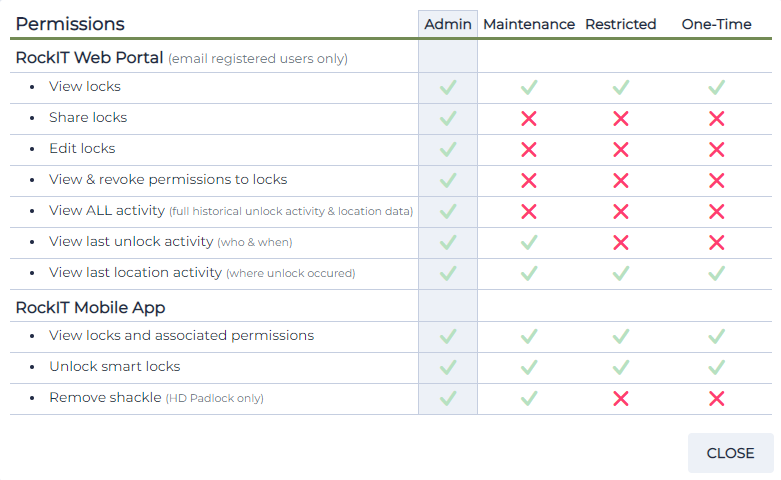
Set the Time Restriction for the period required then select Share.
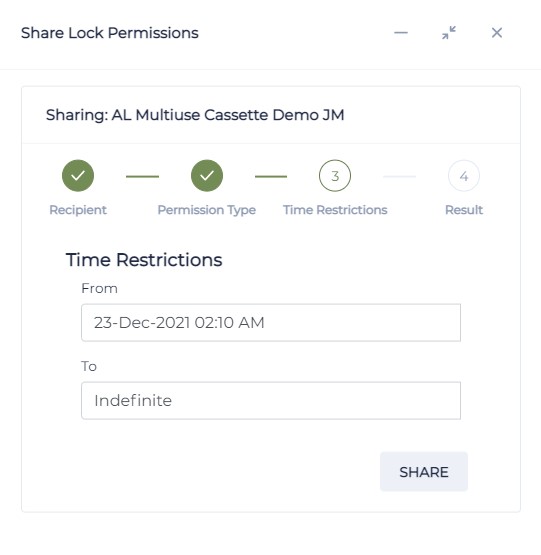
The Permissions have now been created.

How to Avoid Duplicate Permissions
Ensuring duplicate permissions do not occur is part of good house keeping practice.
To avoid duplicate permissions being created ensure that
1) Don't add a person to more than one team. If they are in multiple teams then duplicate permissions can be unnecessarily created.
2) Ensure that permission types are the same for all members of a Team. If someone needs a different permission level place them in a different team.
3) If you reassign a Lock Group to a team it will duplicate permission entries.
How to remove duplicate permissions
1) If the person is not a member of a team then go to the Permissions menu. Search their name in Granted To search panel. This will show duplicated. Select the tick box beside one or all then the Revoke option in the top right of the panel.
2) If the person is in a team select the trash can and tick the revoke all permission option. Then re add their email address if a permission is required. Check the hamburger 3 dot button, then permission. Which will have removed duplicates and they will not have a single permission for the locks assigned.
3) If a Team has been shared with a Lock Group more than once it will create duplicated. The fix is as follow:
- Copy and paste the email addresses into another document
- Go To Teams select the hamburger 3 dot menu, select delete and revoke all. Tick to revoke settings
- If you have a look in permissions these will all have been removed.
- Add these addresses to the team
- Got To lock groups and share the group to the team
- Look into team permission and you will see only 1 permission per person per locks.
Check Team Permissions
Go to the Teams Menu and select the New Team created and the three dots button . This now shows that the Team has been assigned Permissions. Select the Permission option
The Permissions now shows the smart locks and the users assigned to the Team.
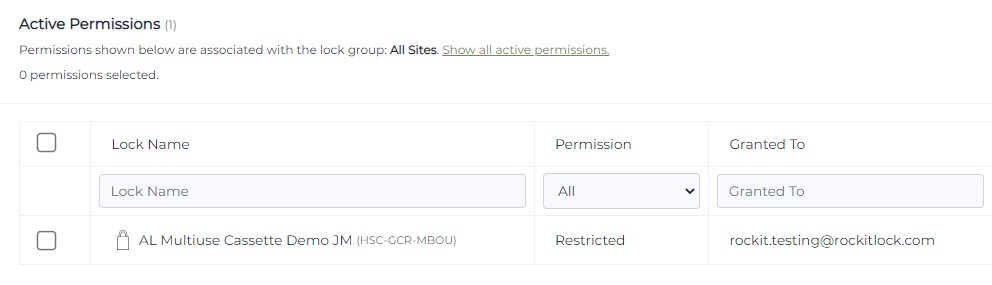
Go to the Lock Group and select the the new Lock Group and Permissions option. This will also show the smart locks and users assigned.
Permission Email Notifications
Notification Matrix
- IF a Lock Group is shared with a team ALL members in the team will receive an email notification.
- IF a new lock is added to the Lock Group with "tick box add automatic permission" those in the team will receive a notification of the new lock available.
- IF a new member is added to a Team they will receive a notification of the locks they have access to.
Lock Group and Team Tips
1. Once Locks have been activated they can be assigned to a Lock Group
2. Adding smart locks to a Lock Group is a easy way to provide permissions to multiple locks
3. When a new Team is created multiple users can be added.
4. When a new Team is created to be used with a Lock Group it must be shared with a Lock Group
5. Multiple Teams can be added to multiple Lock Groups.
6. Access users should be added to just one team only to avoid duplicate permissions being created.
7. Check Lock Groups and Teams with the three dots button to ensure that Permissions are shown. If not then Teams and Lock Groups are not linked to users. This will prevent users gaining access to smart locks.
To learn more about creating lock permissions see RockIT Lock - Sharing and managing lock permissions